Custom Range Hood for Less Than $50!
/Update: The range hood got a major overhaul. Check it out here.
Do you ever have a project that just hangs over you like a gray cloud? For me it's been the cabinet space over the range. When we bought the house there was a microwave over the range:
Now I don't know about you, but when I'm cooking, the last thing I want is a microwave buzzing next to my head. So what did I do? I took it down and converted the drawers in the island to shelves (more on that project later) that would store the microwave. What I was left with was this:
Ok, so it's not like it's terrible but it's just so... well, blah. I mean, those cabinets serve no function since this bad boy is sitting in there:
You see, when I got rid of the microwave, I lost my light and vent. Since that wasn't a good thing, I ordered a recirculating vent (we didn't have a vent to the outside so we need recirculating). So how did I order it? Well I measured the width and depth of the cabinet, hopped online and ordered one that fit. Um yeah... bad idea. What I didn't think about is the fact that if the vent is as big as the cabinet it might not fit. Yep, I made that dumb mistake (it happens!). So for the last two years I have had no vent. No light. Nada.
About a year ago I started looking at range hoods. I knew I wanted something besides cabinets. After lots of searching I came across this image (swoon!!!):
I decided I had to have this. And then I priced it out. $700 for a range hood? I think my husband would kill me. So, with that, my range hood dreams were gone.
Fast forward a year to a morning when I woke up with way too much energy. I decided that morning that I would just make myself a range hood. After creating the master closet I had almost super human building power strength ( visualize Wonder Woman flexing her muscles).
I grabbed some coffee, hopped in the car and went to Home Depot. I walked up and down the lumber aisle looking for supplies. Grabbed a little bit of this, a little bit of that and then headed home to get started.
Let's Do This!
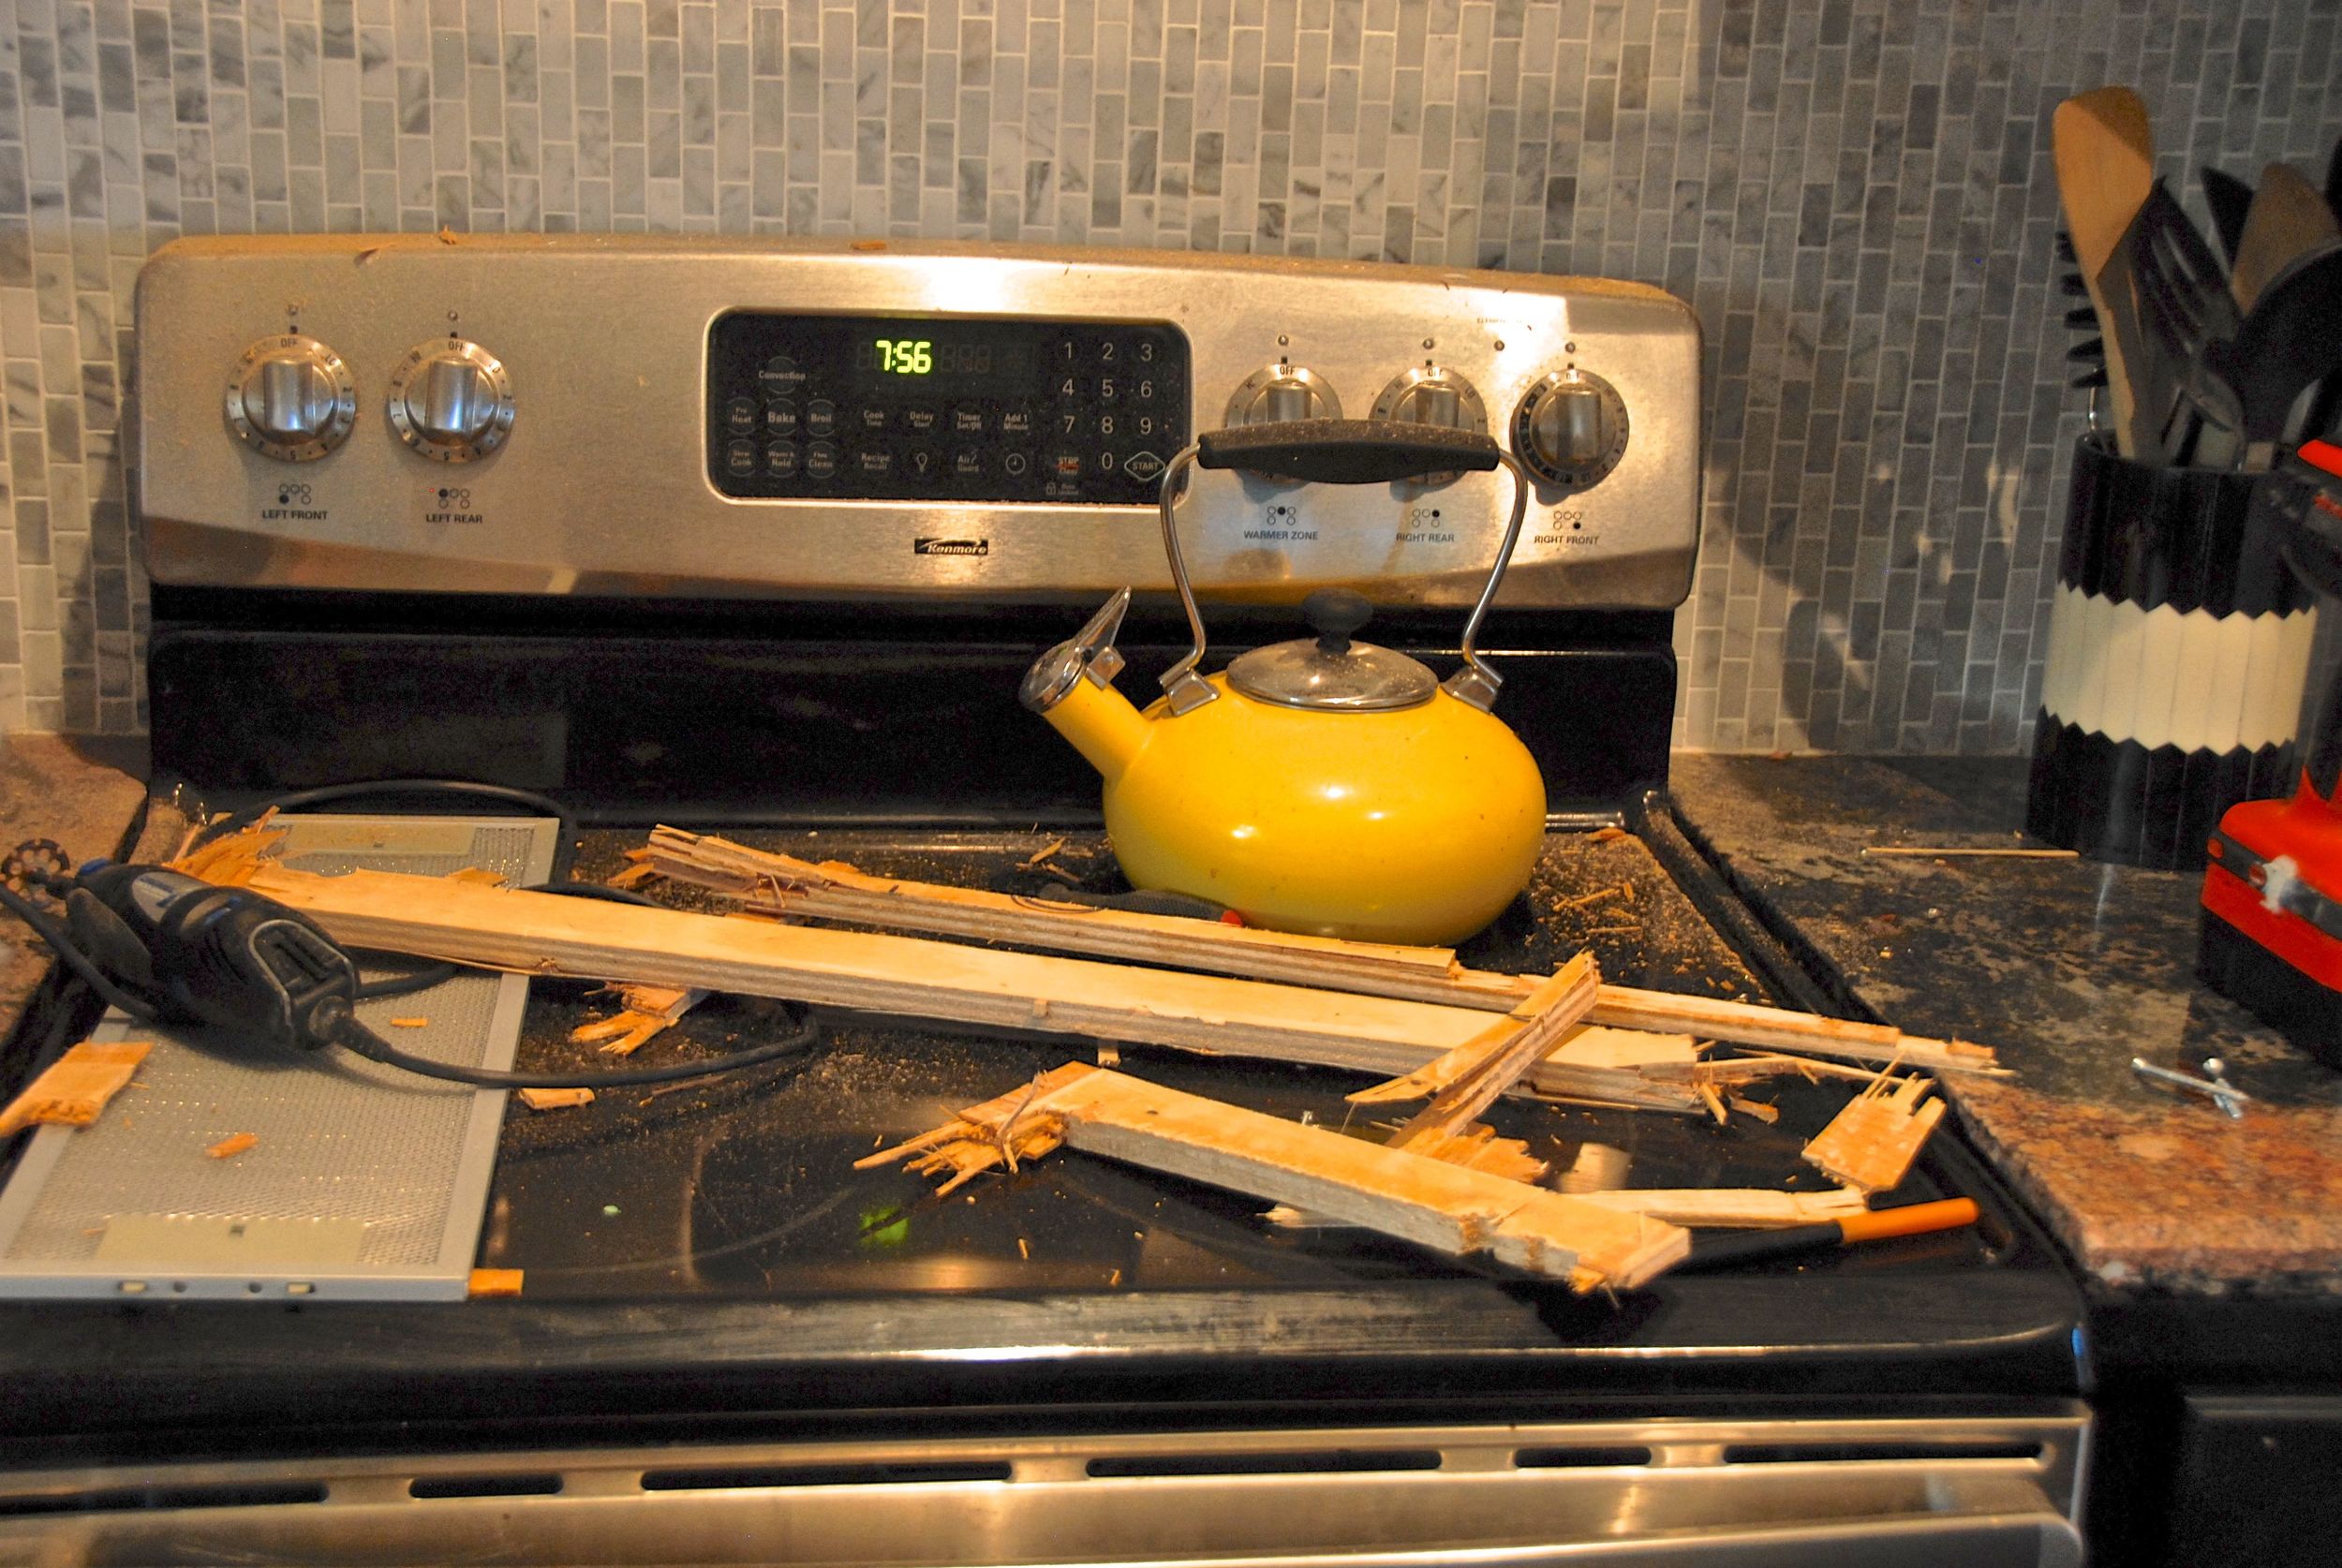
The first thing I did was take off the cabinet doors and remove the bottom of the cabinet. I also knocked out the front support piece. Now you may be wondering why wouldn't I just remove the center cabinet unit. I couldn't. The side and middle cabinets are all one piece.
I'm sure you noticed I didn't move the stove. Heck I even left the tea kettle. If you remember, my husband cracked the cooktop so it's already damaged. And the tea kettle? Just plain laziness on my part.
After demoing everything (and cleaning the mess) I had to decide how far I wanted my hood to stick out. I opted for 16 inches. Since it's a small area, anything more would look out of place. I placed in the two side supports, leveled them up and attached with the nail gun.
Next I added the front and back supports.
Now I need to stop here. Remember how I said the vent was basically the same size as the cabinet? Because of this I had to attach the vent on the top of the side supports. So, for those of you who will know to order a vent that is quite a bit smaller than the space you are putting it in, you would do the following:
Measure the width of your cabinets in the front and the back (they should be the same, but sometimes they can be off by a 1/2 inch or so).
Cut two support beams to this width.
Next, cut two support beams to the overall length you decided on for the range hood (for me it was 16 inches).
Attach the supports together, creating a box frame. Do this outside of the cabinet space (in your workshop).
Next, cut a 3/4 inch thick piece of plywood to the overall width and length of the finished box frame.
Set the vent on top of the plywood and draw an outline.
Cut out the outlined section.
Attach the plywood to the bottom of the box frame.
Attach the box frame to cabinet.
Now we are all on the same page!
Attach the vent to the supports.
Install the vent (ie plug it in, attach the outside venting, if needed, etc).
Next, I added the front face to the supports. It should be roughly 1/2 inch longer than the support and should be mitered to 45 degrees on both ends so it can "wrap around."
Next I measured the amount of exposed supports on the bottom sides and cut a face front for each side (again with mitered edges).
I attached a thinner face front to the top of my cabinet frame (the top face front is the same length as the bottom face front and should also be mitered at the ends).
Because my top face front stuck out about an inch, I had to cut two mitered side face fronts at the top and attach them.
Next I measured the length between the top and bottom face front and cut three supports beams to that size. I mitered the ends of the boards so that they would attach just behind the face fronts.
Now a note about the supports and top face front. I wanted the range hood to have a subtle slope for dimension. If you want a squared out front, you will need to add support at the top of the cabinet base in order to extend the upper face front to the same length as the bottom face front.
After adding the supports, I measured the open area from the outside of the left support to the outside of the right support and from the top face front to the bottom. I took my measurements and cut out a plywood square. I then attached the plywood to the supports using a nail gun.
Because my hood is slanted, the plywood came in right behind both the upper and lower face fronts.
The next step was cutting the angled pieces on the side. I would be lying if I said I wasn't stumped on how to do this. I couldn't find my angle tool so I had to come up with something. My solution?
Yep, I used cardboard! Honestly, I can't think of a more brilliant material. It cut incredibly easy and was spot on accurate. So with the handy template, I cut out the side pieces and mailed them on.
Were they perfect? Nope, but they didn't need to be (the lattice and caulk will cover up the edges).
The next step was to sand the edges of the new side pieces.
After that, I started adding the lattice work.
After adding the lattice I added trim work to the top and bottom of the upper and lower face. I thought this gave it a more finished look. And since the trim was small, I used Liquid Nail to attach it (but not the crown. I nailed it on).
After caulking and filling in the nail holes, I sanded it down and primed it. Then it sat in my kitchen like that for a week while I decided what color to paint it. In the end, I went with black (I know, you're shocked, right?). The end result?
Here is the side-by-side:
So what do you think? Not bad for $50, huh?
I'll have to admit I'm pretty proud of this guy. I had no clue what I was doing when I started but I made it work. I could not be happier with the results and can't wait to show you all the other changes it inspired in the kitchen. So, you want to know the price break down?
Birch Plywood Panel: $10.67
1 X 2 X 8 Support Boards: $2.61
1 x 3 X 8 Pine Board (for top face): $5.43
1 X 4 X 8 Pine Boards (for bottom face): $8.64
2 8 foot lattice pieces: $7.28
Liquid Nail: $2.52
Trim Pieces: $8.52
Total: $45.67!
Note: This doesn't include the crown moulding. I was replacing all of that on my cabinets anyway so I already had it on hand.
So there you have it. For less than $50 I created my very own range hood. Who knew you could do so much with so little! Oh! And I've been asked why I didn't just use MDF. This is our forever home so I wanted to use real wood. Besides, it was only $50 with real wood so why use MDF?
YOU MAY ALSO ENJOY:


