And done (almost)
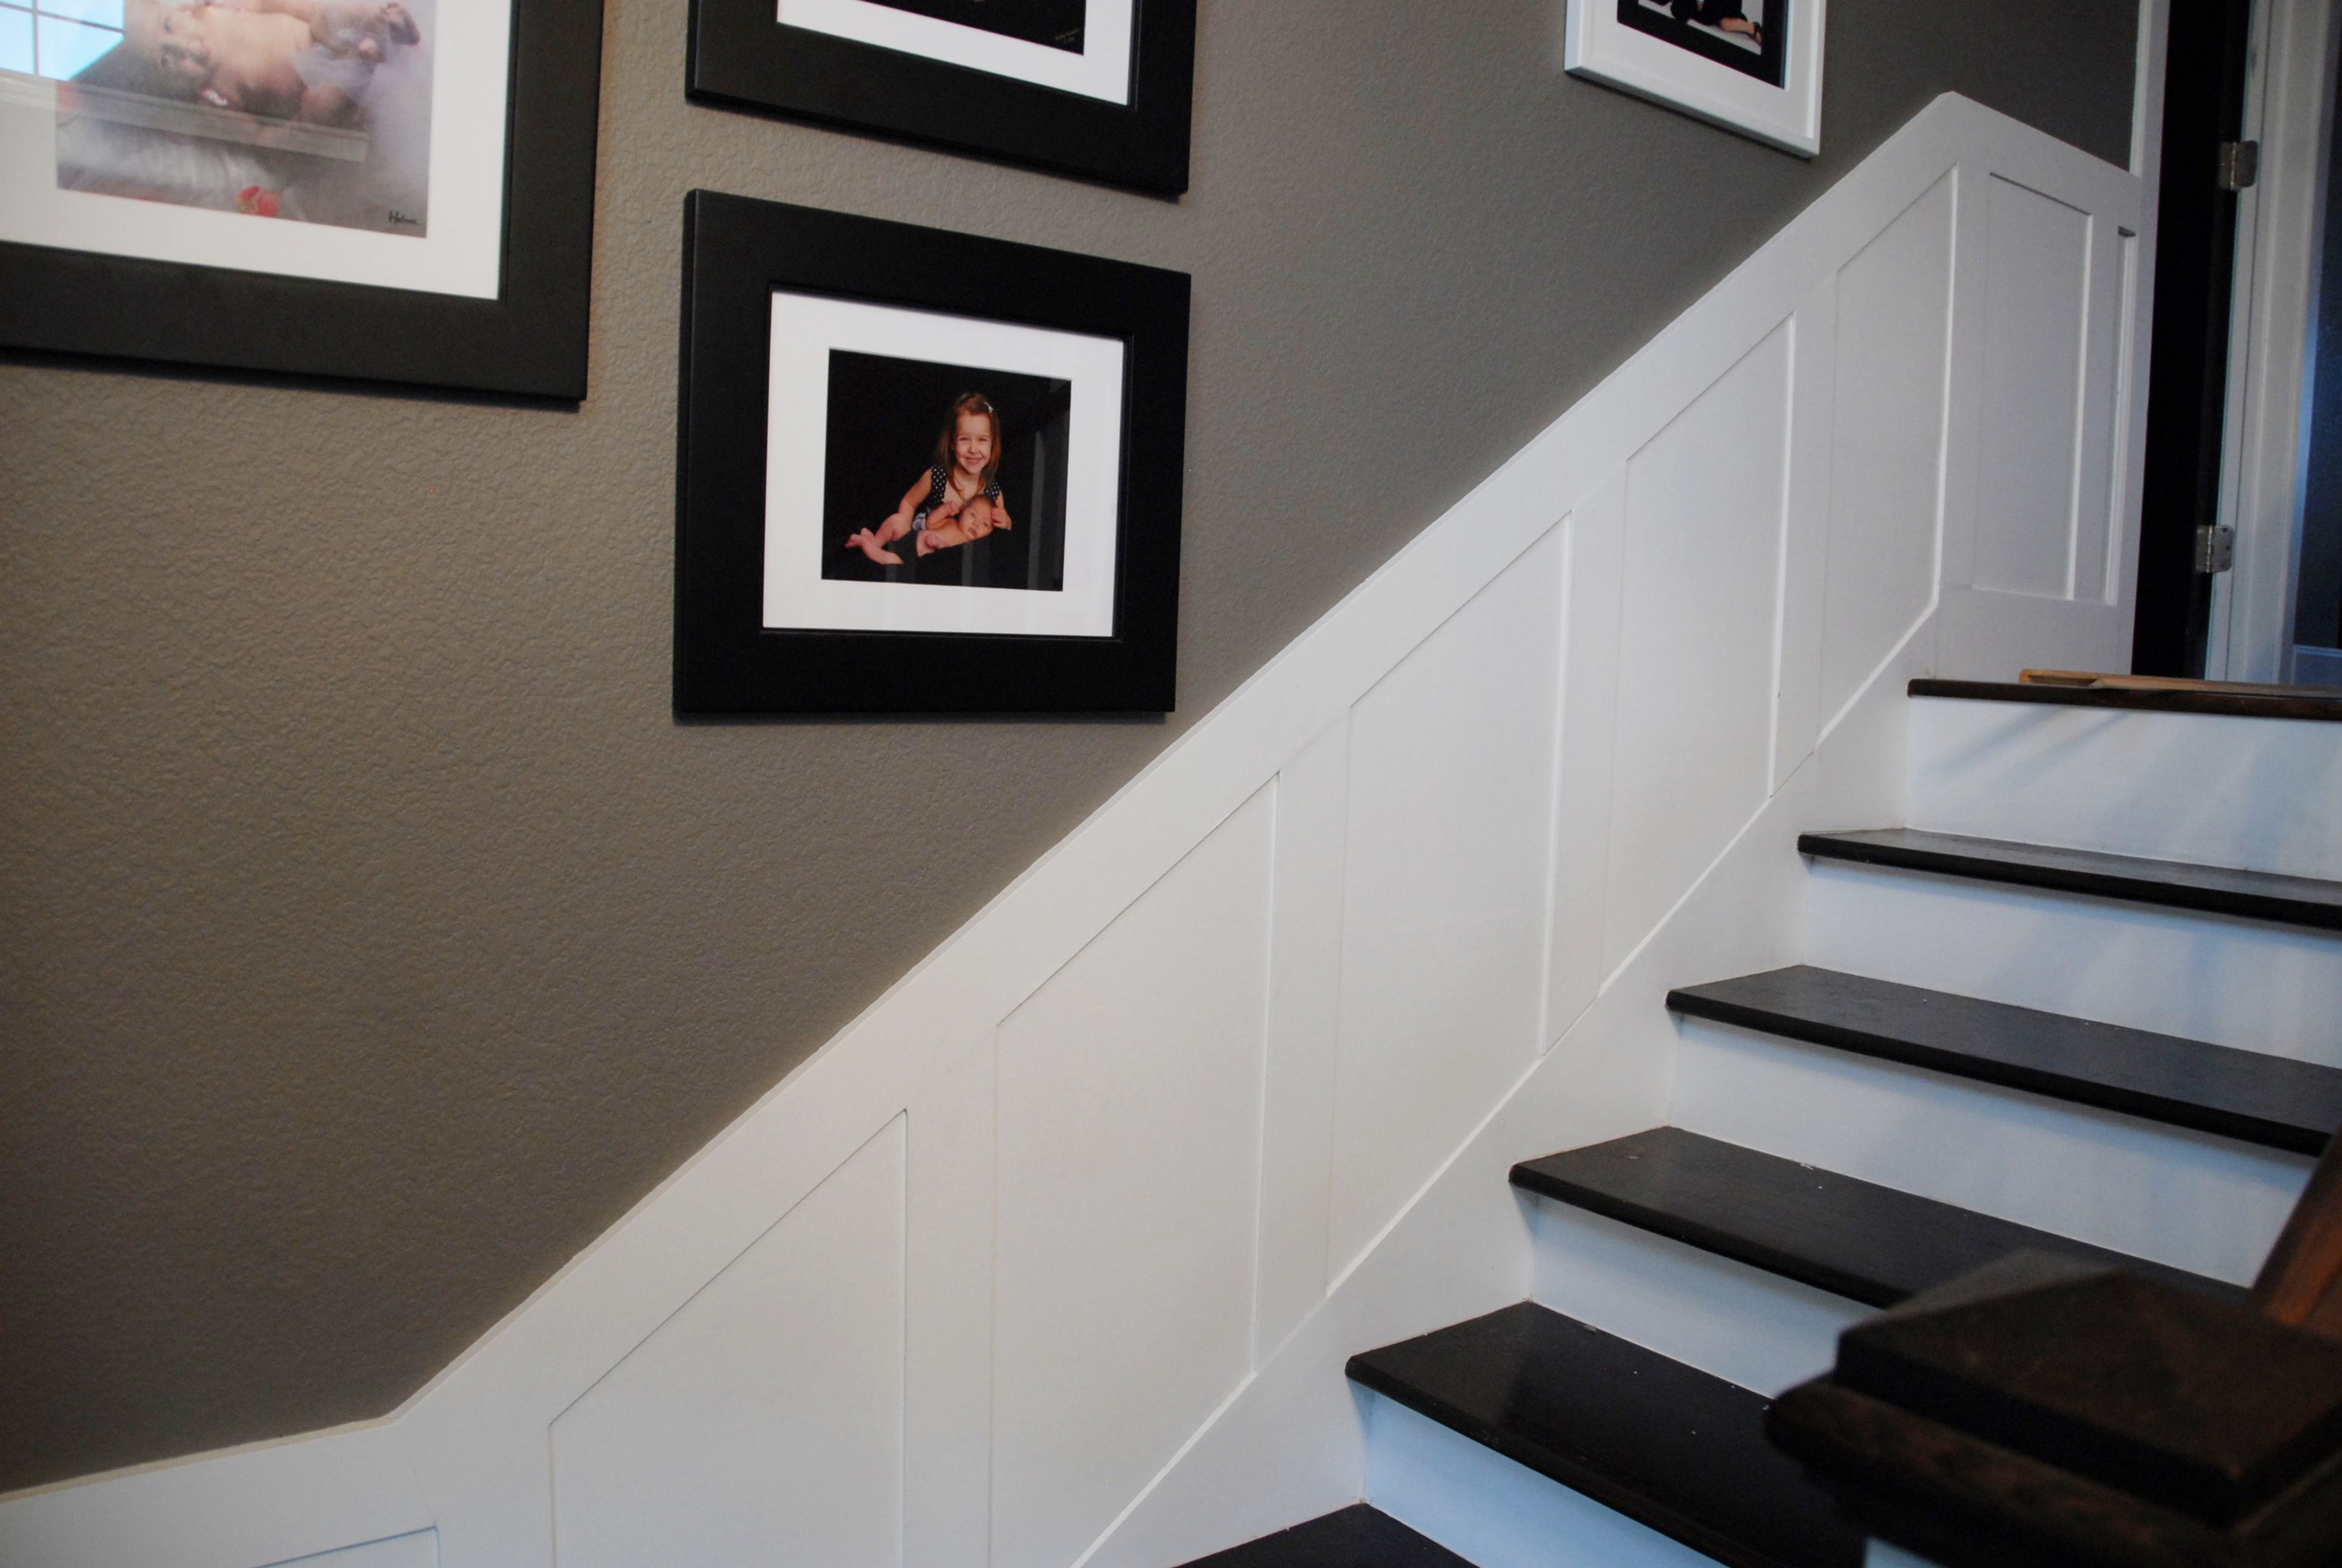
/I would love to tell you that I am about to upload a finished project but I can't because, well, I'm not finished. I'm close. Very, very close. And if not for the fact that Lowe's was out of the trim I am using, I would be finished. ;-( I am, though, far enough along that I really want to show all of you my progress. I know it's been a bit since I posted, so you may not remember that I decided to turn the board and batten along my staircase into picture frame moulding. That part is DONE!
As usually happens around here, when I do something like this I decide the area around it needs to look as good (in this case, the trim around the doors). Here's a recap of how the door/windows in the entry have progressed:
I tried to make sure the trim matched the board and batten even if the results were less than stellar, but once I did the picture frame moulding along the stairs, I knew I would have to change the trim around the door/window.
When it came down to the pattern I wanted, I decided to mimic the trim throughout the rest of the house.
I wasn't exactly sure what to do since those eyebrow arches are such a pain. I needed something flexible. What I ended up was Ever True moulding from Lowe's. It was extremely flexible, so it allowed me to manipulate the curves.
I decided that to mimic the inside pattern I would glue two pieces of the trim together. I just used Liquid Nails for panels, wrapped tape around them every few inches and then let them dry overnight.
The next day I glued them to the existing trim and taped in place.
I'm sure you've noticed the wooden blocks. Because these are eyebrow arches, they just didn't look good completely connected, so I decided to create crown boxes at the joints. This let me know where to stop the trim.
As for adding the trim to the arches, I couldn't really get a pic of that without falling to my death. What I did was simple, I started on the right side and nailed (with a nail gun) the trim every couple of inches while creating an arch. It was very simple to do.
After all was said and done, I completed the crown using scrap wood in the garage, spackled the joining line in the glued pieces, sanded, caulked and painted. Here is where I ended:
I know these aren't the best pics. When I finish up the last part (the door) I will work harder to get some better pics. But for now, that's it for me. There are a few more things I want to work in but with my daughter's birthday party this weekend, I'm not sure how much I will be able to get done. Hopefully I will have something to show you soon. Stay tuned!
Check us out on Remodelaholic's link party!
YOU MAY ALSO ENJOY:


